Using your SkyFanDC module
- James Eggleston

- Apr 11, 2022
- 4 min read
Updated: Jan 17, 2023

The lastest SkyFanDC modules made for ESPhome will come with a 3D printed case, the file for these are available here as well.
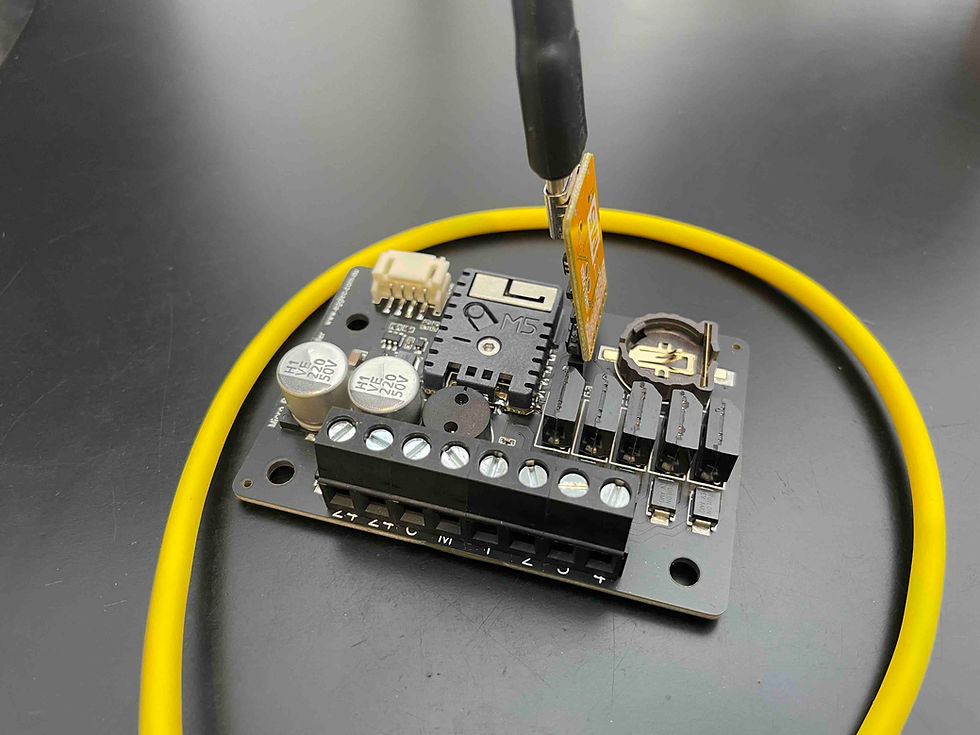
When your module arrives install each one into the sky fan controller, before installing it, ensure you have the power off even though you won't be working on mains power it will be near by.
The module simply plugs into the fan controller. When the power is reconnected the module will create an Access Point to connect to with a phone or laptop. A dialog will open to enable you to enter your SSID and Password. These devices only work on 2.4G WIFI if your router has two SSID one for 2.4G and 5G make sure you select the SSID for 2.4G.
Once it is connected to WIFI and if you go to Home Assisant, the module will most likely be automatically discovered as a ESPhome device in the configuration area you will simply be able to press CONFIGURE AND SUBMIT. You can then change the entity names to what you want to use. This will allow you to control your Sky Fan via home assistant, you can continue on for custom configuration or trouble shooting.
It is a good idea to log into your router, find the devices IP address on your network, keep a record of it and make an IP reservation for it on your router, this is not usually required but may be usefuly in the future if you, want to use ESPhome to modify the module or if you want to add more than one device. However if at the time of ordering, you ordered more than one module, each one should have a different device name, this will enable Home Assistant to correctly find the device and install it, this will also help with adopting the device to your ESPhome dashboard which you may want to do, but don't have to.
If you enter the incorrect WIFI details by mistake the device will create and Access Point again, and you can re-enter the details.
If for some reason the module does not get discovered and the device is definately connected to your network, you will need to get it's IP address from the router or from a network utility like Fing. Once you have the IP address go to CONFIGURATION in HA --> (Bottom Right) ADD INTEGRATION --> type : esphome and select ESPhome --> the the IP address of the module goes in to HOST and press submit. This should add the device if the IP address is correct, it is sometimes possible to use a local domain name, but this will not always work it depends on your network.
If you would like to modify the device in ESPhome and have it installed you should be able to dashboard adopt it in ESPhome, be mind for that when sending updates to the module via YAML configuration, ESPhome will find your device on the network using mDNS so the
name: tag under esphome: will be the name of the device on your router, if you change this name in the yaml it won't upload or provide logs. So you need to leave the name the same, if you need to change the name becasue you have to the same your will need the IP address and add the following under wifi:
wifi:
  ssid: "yourSSID"
  password: "yourPassword"
  manual_ip:
    static_ip: 192.168.1.124 #your_device_ip_here
    gateway: 192.168.1.1 #your_gateway_here
    subnet: 255.255.255.0
This will enable ESPhome to find your device regardless of the device name or the name of the device on your network.
After adopting the device a good start is to paste the YAML from my github into your setup and modify it from there, JUST MAKE sure you make the device name the name of your device on your network, to avoid the need to add the IP address as detailed above.
substitutions:
  device_name: easy_skyfandc
  fan_name: SkyFanDC
esphome:
  name: ${device_name}
  name_add_mac_suffix: false
  project:
    name: jimmy.easy_skyfandc
    version: "0.1"
If your Module has a JST SH connector on it you could use a module like this one PiicoDev Precision Temperature Sensor TMP117 which could be plugged in and place outside of the fan cowling in a little case, this would provide you with a relative guide for the room temperature as it is at the ceiling level it would be reading would be higher than at person level, just keep that in mind as you create an aitomation to turn on the fan. To add that feature you would need the YAML add as follows you will aready have a sensor so add it under that.
sensor:
  - platform: tmp117
    name: "Living Room Temperature"
    update_interval: 60s
i2c:
  sda: 4
  scl: 5
  scan: true
If your don't have a plug you could still solder the 4 wires on to pins 3.3, GND, 13, 12 and setup 13 and 12 as SDA and SCL pins instead.
You could also add the TSL2591 Abmbient light sensor module as well and use it to control the level of light in the room. The setup is just as easy.
  i2c:
  .....
  sensor:
  - platform: tsl2591
    name: "This little light of mine"
    id: "my_tls2591"
    address: 0x29
    update_interval: 60s
    device_factor: 53
    glass_attenuation_factor: 14.4
    visible:
      name: "TSL2591 visible light"
    infrared:
      name: "TSL2591 infrared light"
    full_spectrum:
      name: "TSL2591 full spectrum light"
    calculated_lux:
      id: i_lux
      name: "TSL2591 Lux"
If you have an problems with your device you can email me at james@egglec.com.au even if you work out the issue please let me know so that I can add them here to this post in potental trouble shooting list here to help others.


Comments